Every baby has a little monster in them, yes even the cute ones. This free frankenstein monster baby blanket knitting pattern is for that one. It is a garter stitch blanket with a Frankenstein monster hood, two small pockets, stitched-on eyebrows at exactly the right menacing angle, and a tuft of wild black hair. The result is very green, faintly alarming, and just right for a small person with a big personality.
Quick Look
What you’ll find in this post:
- The complete free Frankenstein monster baby blanket knitting pattern
- Full materials list: yarn, needles, and notions
- Step-by-step instructions for the blanket, hood, pockets, eyebrows, and hair
- Technique notes for any unfamiliar stitches
- FAQ with answers to common questions
- A link to the printable PDF if you would prefer one
The whole blanket uses garter stitch, which means there is no complicated stitch pattern to get to grips with. It grows quickly in aran weight yarn. It is the kind of project you can knit in front of the television without losing your place, which is more than you can say about most things worth making. If you have ever knitted a scarf, you can knit this. Unlike the scarf, this one has hair.
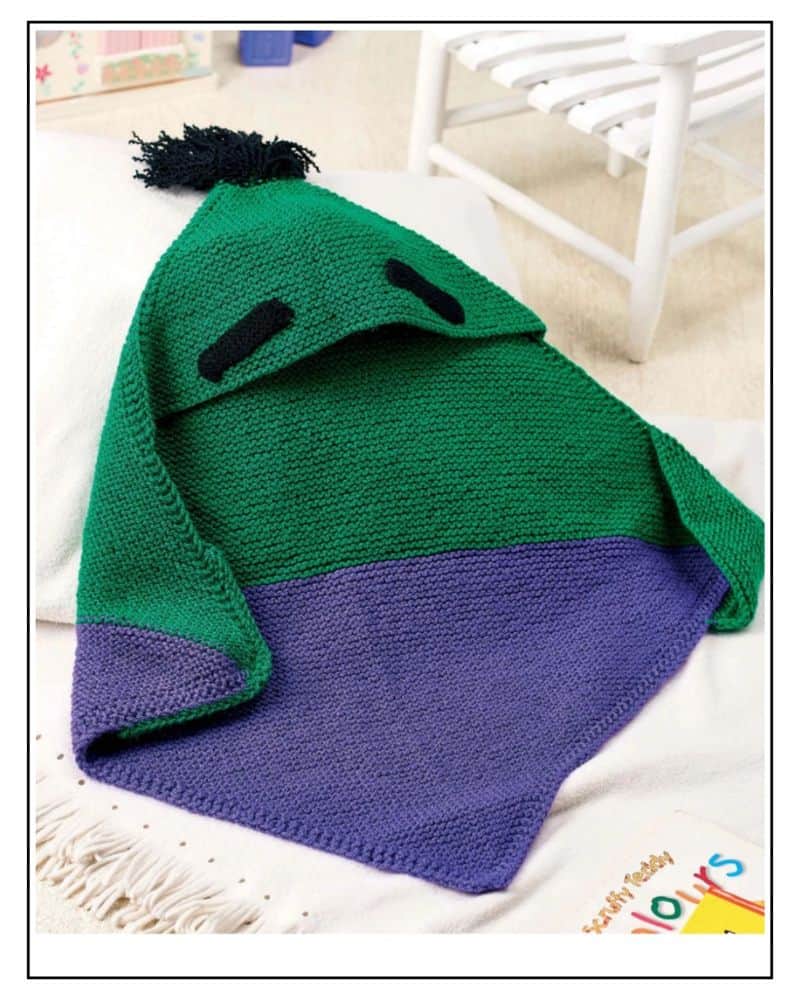
Garter stitch, a Frankenstein monster, and nothing in the instructions to be afraid of. Finally, a reason to put down the scarf.
What Is the Frankenstein Monster Baby Blanket?
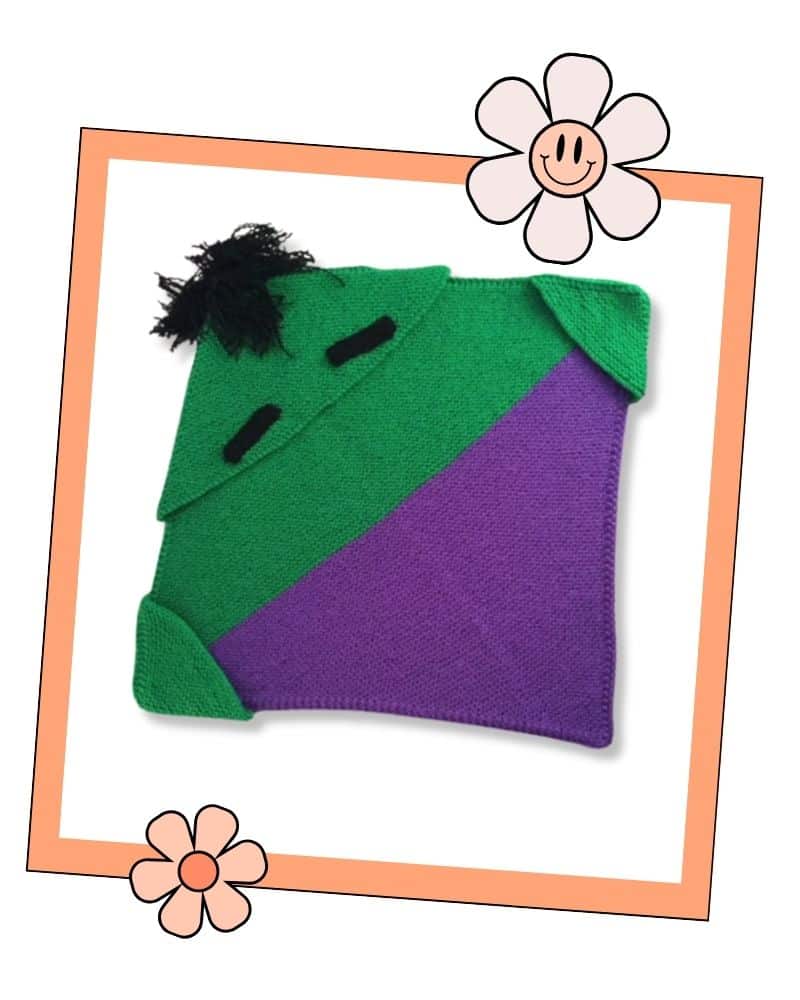
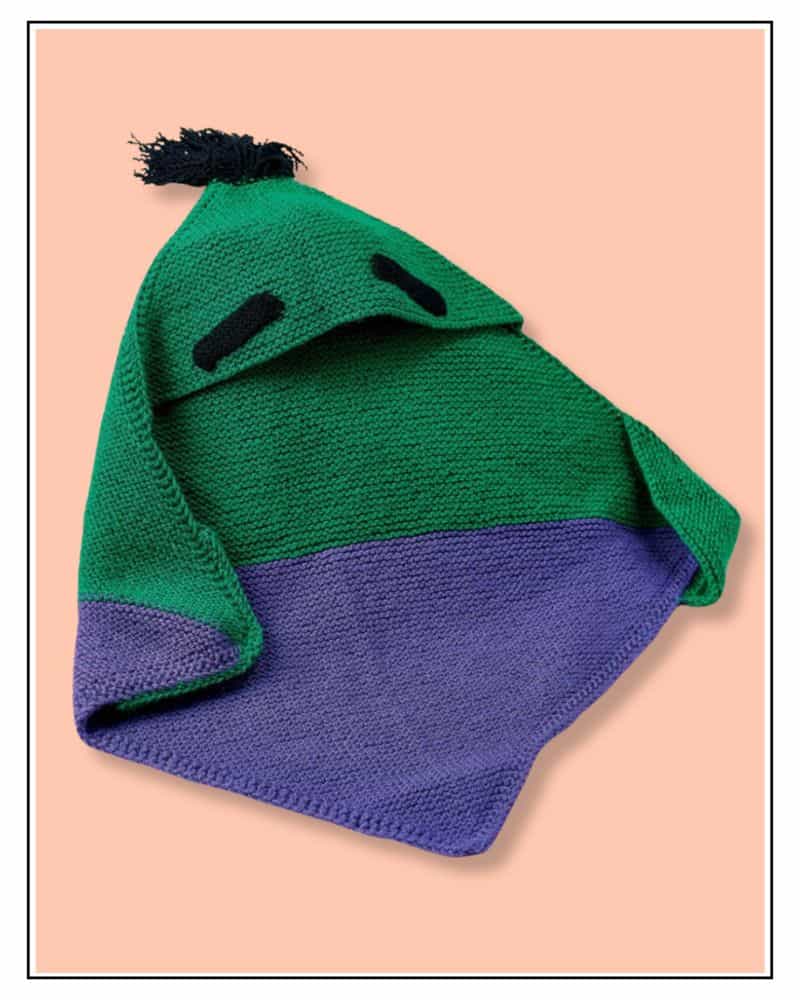
The blanket is worked in one piece using a diagonal corner-to-corner construction. You start at a single corner with just four stitches and increase on every row until the blanket reaches full width. Then you change colour and decrease back to a single corner. This creates the distinctive green top and purple lower half that gives the blanket its Frankenstein character.
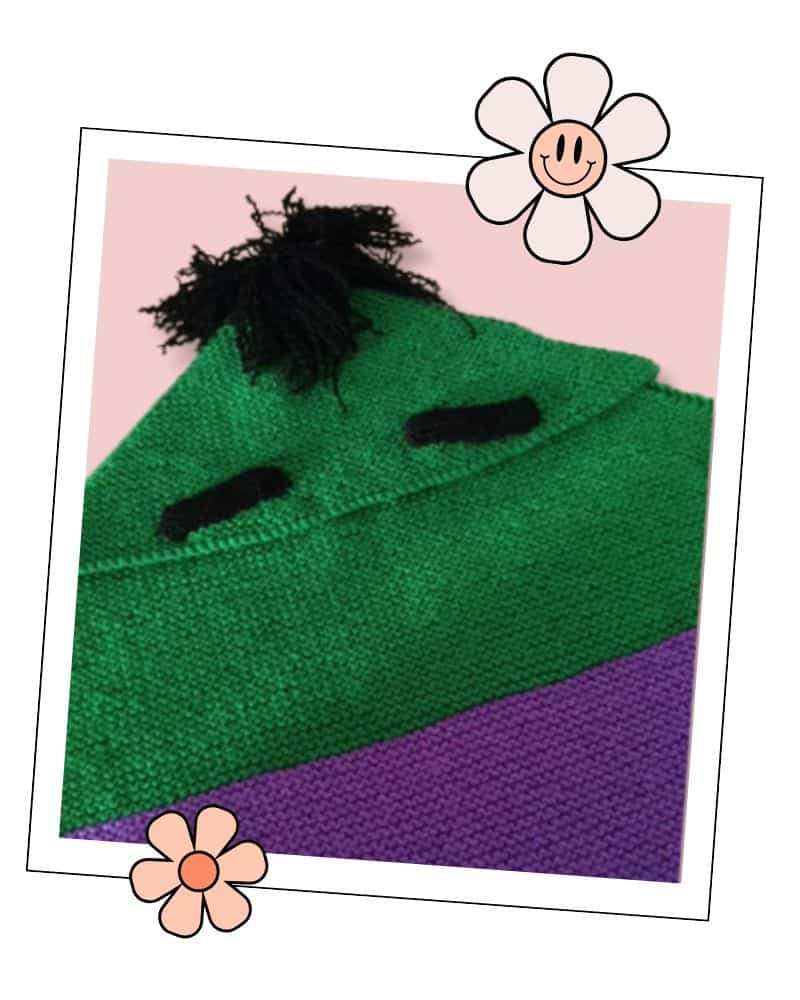
The hood is a smaller version of the same shape. It sits at one corner of the finished blanket and folds forward to become the monster’s head. The pockets are smaller triangles worked the same way and sewn to the sides. The eyebrows are simple knitted rectangles, worked on smaller needles in black yarn.
The hair is the last thing you add. Short lengths of black yarn are attached to the top of the hood using a crochet hook, then untwisted into separate plies to create that essential wild, untameable look.
It is a beginner-friendly pattern. If garter stitch and basic shaping are already familiar to you, you will find it straightforward. If this is your first shaped project, it is a very manageable step up.
What You Need
| Item | Details |
|---|---|
| Yarn | Stylecraft Special Aran, 100% acrylic, 196m (214yds) per 100g ball |
| Yarn A | Green (1116) — two 100g balls |
| Yarn B | Proper Purple (1855) — one 100g ball |
| Yarn C | Black (1002) — one 100g ball |
| Main needles | 5mm circular needle, 60cm / 23.5in cable |
| Eyebrow needles | 4mm straight needles |
| Notions | Crochet hook (for applying hair), tapestry needle |
| Tension | 18 sts x 40 rows = 10cm x 10cm (4in x 4in) in garter stitch using 5mm needles, blocked |
| Finished size | 60cm x 60cm (23.5in x 23.5in) |
| Skill level | Beginner |
Tension matters more than you might expect on a blanket. The diagonal construction means your row count directly affects the final size and shape. It is worth knitting a quick tension square before you begin.
Abbreviations
A full abbreviations guide is available as a free download from the Jane Burns shop. Download the free knitting abbreviations guide here.
The abbreviations used in this pattern are:
k — knit k1 tbl — knit 1 through back loop RS — right side sl1 wyif — slip 1 stitch with yarn in front ssk — slip, slip, knit (left-leaning decrease) sts — stitches WS — wrong side yo — yarn over (increase)
If any of these are unfamiliar, see the Technique Notes section below for more detail.
Pattern
Main Piece (Make One)
Cast on 4 sts using 5mm circular needle and Yarn A.
Row 1 (RS): Sl1 wyif, k1, yo, knit to end. 5 sts.
Row 2 (WS): Sl1 wyif, k1, yo, knit to last 3 sts, k1 tbl, k2. 6 sts.
Repeat Row 2 until you have 128 sts on the needles.
Next row: Sl1 wyif, knit to last 3 sts, k1 tbl, k2. 128 sts.
Change to Yarn B
Next row: Sl1 wyif, knit to end.
Start decreasing:
Row 1: Sl1 wyif, k1, ssk, knit to end. 127 sts.
Repeat Row 1 until you have 4 sts on the needles.
Cast off.
Looking for another quick gift idea for a new baby?
Hood
Cast on 4 sts using 5mm circular needle and Yarn A.
Row 1 (RS): Sl1 wyif, k1, yo, knit to end. 5 sts.
Row 2 (WS): Sl1 wyif, k1, yo, knit to last 3 sts, k1 tbl, k2. 6 sts.
Repeat Row 2 until you have 76 sts on the needles.
Next row: Sl1 wyif, knit to last 3 sts, k1 tbl, k2.
Cast off.
Pockets (Make Two)
Work as Hood until you have 36 sts on the needles.
Next row: Sl1 wyif, knit to last 3 sts, k1 tbl, k2.
Cast off.
Eyebrows (Make Two)
Cast on 17 sts using 4mm straight needles and Yarn C.
Rows 1–6: Knit.
Cast off.
To Assemble
Pin the hood and pockets into position on the main blanket as a guide, then oversew the edges neatly and darn in ends. Sew on the eyebrows.
To add the hair, cut lengths of Yarn C approximately 15cm long.
*Take one strand of yarn and fold it in half. Slide the crochet hook under two legs of a stitch on the hood and pull through the folded loop of the strand. Catch the loose ends under the folded loop and pull tight to attach.**
Repeat from * to ** once more, directly next to the strand just worked.
Continue until you have covered the top of the hood. Untwist the yarn into separate plies to make curly hair. The tip of a tapestry needle is helpful for this.
Technique Notes
Sl1 wyif (slip 1 with yarn in front): Bring the yarn to the front of the work between the needles. Slip the first stitch purlwise from the left needle to the right needle without knitting it, then take the yarn to the back. This creates a neat, tidy chain edge on every row.
k1 tbl (knit 1 through back loop): Insert the right needle into the back loop of the stitch rather than the front and knit it as normal. This twists the stitch and closes the small hole left by the yarn over increase on the previous row.
yo (yarn over): Bring the yarn to the front between the needles, then take it over the right needle to the back. This creates an extra stitch and is the increase used throughout the first half of the blanket.
ssk (slip, slip, knit): Slip the first stitch knitwise, then slip the second stitch knitwise. Insert the left needle through the fronts of both slipped stitches from left to right, and knit them together. This is a neat left-leaning decrease.
Attaching the hair: The technique used here is a simple latch hook method. Each short strand of Yarn C is folded in half and looped through a stitch on the hood using the crochet hook. Once all the strands are in place, untwisting the individual plies with a tapestry needle gives the hair its wild, slightly uncontrollable appearance. This is correct and intentional.
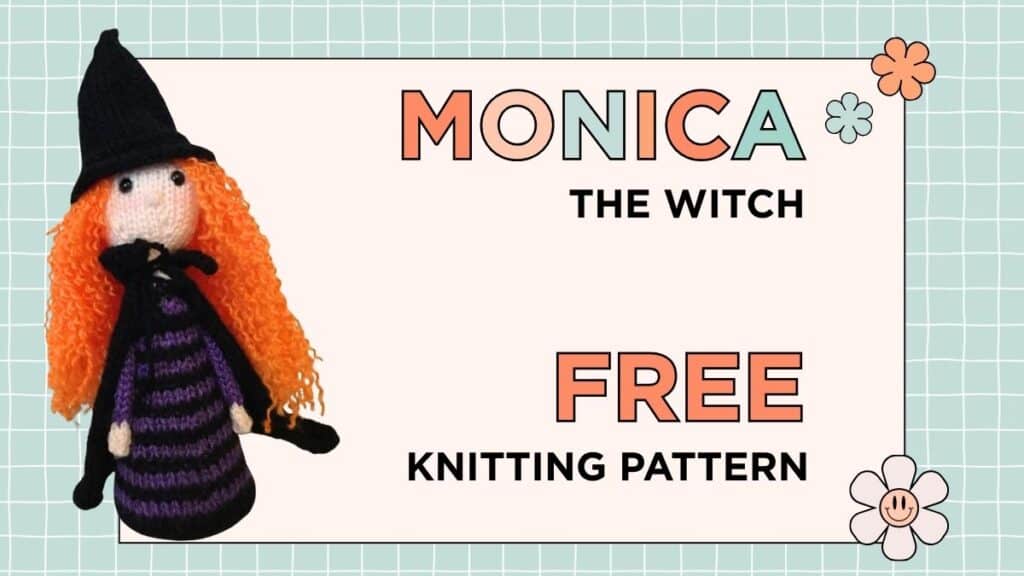
If you enjoyed this blanket, the Monica the Witch knitting pattern is another Halloween make that works well alongside it.
Would You Like the PDF?
The full pattern is free right here on the blog and always will be. If you would prefer a neatly laid-out, printable version to keep in your knitting bag, the PDF is available from the Jane Burns shop.
It is four pages, clearly formatted, and ready to download as soon as your purchase is complete. It is a useful thing to have if you are the sort of knitter who prefers paper to a screen, or if you are making this as a gift and want to include the pattern.
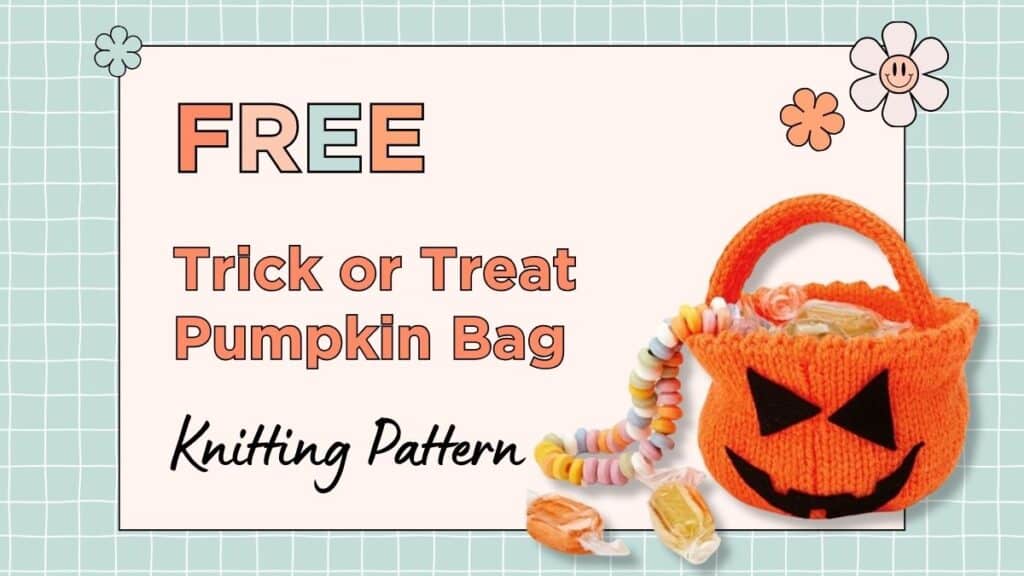
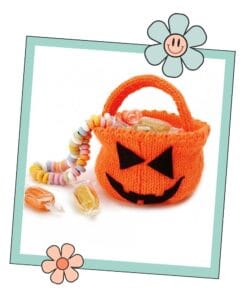
If you are knitting for Halloween, the Trick or Treat Pumpkin Bag is worth a look. It is a small, sturdy knitted bag with a jack-o-lantern face cut from black felt, worked in one ball of orange DK yarn over a weekend. The pattern is free on the blog, with a PDF available to download. The one they carry down the street and keep for next year.
Frankenstein Monster Baby Blanket Knitting Pattern: FAQ
Is this pattern suitable for a complete beginner?
Yes. The whole blanket is garter stitch, which is the most straightforward knitting stitch there is. The only techniques you need beyond basic knit stitch are a yarn over (increase), ssk (decrease), and slipping a stitch. All three are explained in the Technique Notes above. If you have made a scarf, you are ready for this. It is also a much more interesting thing to give someone.
How long does this blanket take to knit?
That depends on how quickly you knit and how often you sit down to do it. In aran weight yarn on 5mm needles, the blanket grows at a good pace. Most knitters would finish it comfortably in a week or two of regular evening sessions. It is quick enough to be a reasonable last-minute Halloween gift, provided you start with enough time to spare.
Can I use a different yarn?
The pattern is written for Stylecraft Special Aran, which is reliable, affordable, and very easy to wash. If you prefer a different yarn, choose something in aran weight and knit a tension square before you start. The Craft Yarn Council yarn weight guide is useful for comparing labels from different brands.
The green is a specific bright mid-green that gives the blanket its Frankenstein character. If you substitute, avoid olive or khaki tones, as the monster effect relies on that particular shade.
What is the finished size of the blanket?
The finished blanket measures 60cm x 60cm (23.5in x 23.5in), which is a good size for a newborn to young baby. It sits comfortably in a pram or cot without being too large.
Do I need to know how to crochet to make this blanket?
You need a crochet hook, but not crochet knowledge. The hook is used only to attach the hair, using a simple looping method that requires no crochet stitches at all. Everything else in this pattern is knitting.
Is this a good Halloween gift for a baby?
It is an excellent Halloween gift for a baby. It is also a good gift for any baby whose family enjoys a bit of character, or any grandchild who is already showing signs of mild monsterdom. The yarn washes well in the machine, so it is as practical as it is ridiculous. That is the ideal combination.
Stay in Touch
If you would like new patterns, free resources, and the occasional dry observation about knitting for children delivered straight to your inbox, you can join the list here: