This free robot baby bib knitting pattern started at my best friend’s kitchen table, watching her fifteen-month-old grandson eat spaghetti. He picked up one strand at a time, stiff and precise, studied it with great seriousness, then placed it carefully on his forehead. Repeat until bowl empty. He looked exactly like a robot with a minor fault.
By pudding, the floor looked like a Jackson Pollock. He looked delighted with himself. His grandmother and I laughed and reached for the wipes.
I went home and knitted a bib that could cope. It’s worked in a soft bamboo cotton blend that soaks up whatever gets past the spoon and washes well, with a robot on the front in simple intarsia. If you’ve never tried intarsia, this is a lovely first project. It’s small, flat and quick to knit up.
So if there’s a robot in training at your table, or a new baby due in the family, this one’s for you. And if you’re a new parent reading this, who does not knit, forward it to your designated knitter. Mention that it’s free. That usually helps.
Quick Look
What you’ll find in this post:
- The complete free robot baby bib knitting pattern
- Materials, needles and tension, with US sizes
- A full colour chart and written row-by-row instructions
- A choice of knitted i-cord or crochet edging
- A step-by-step guide to Swiss darning the silver details
- A link to the printable PDF if you would prefer one
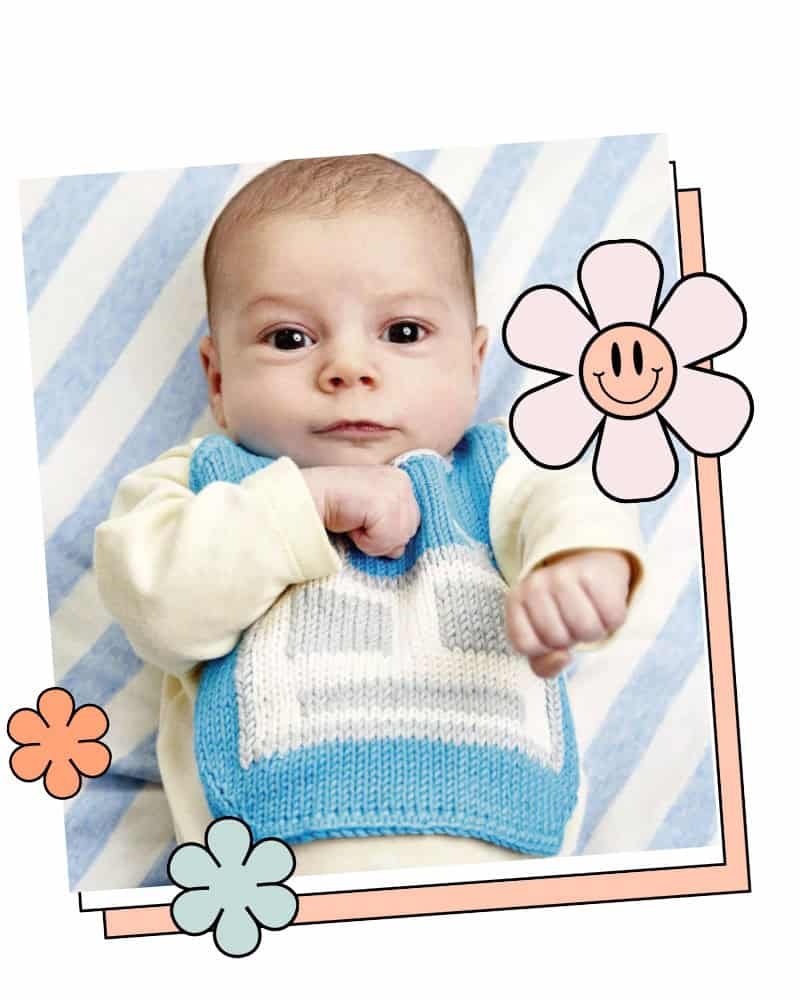
About This Free Robot Baby Bib Knitting Pattern
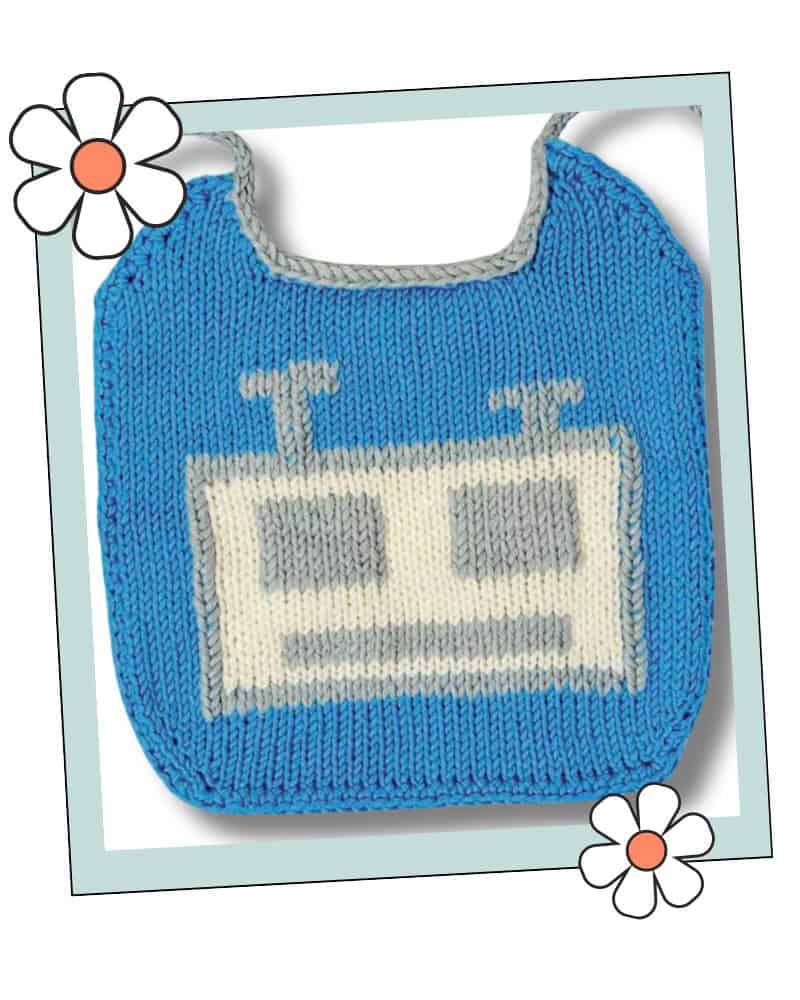
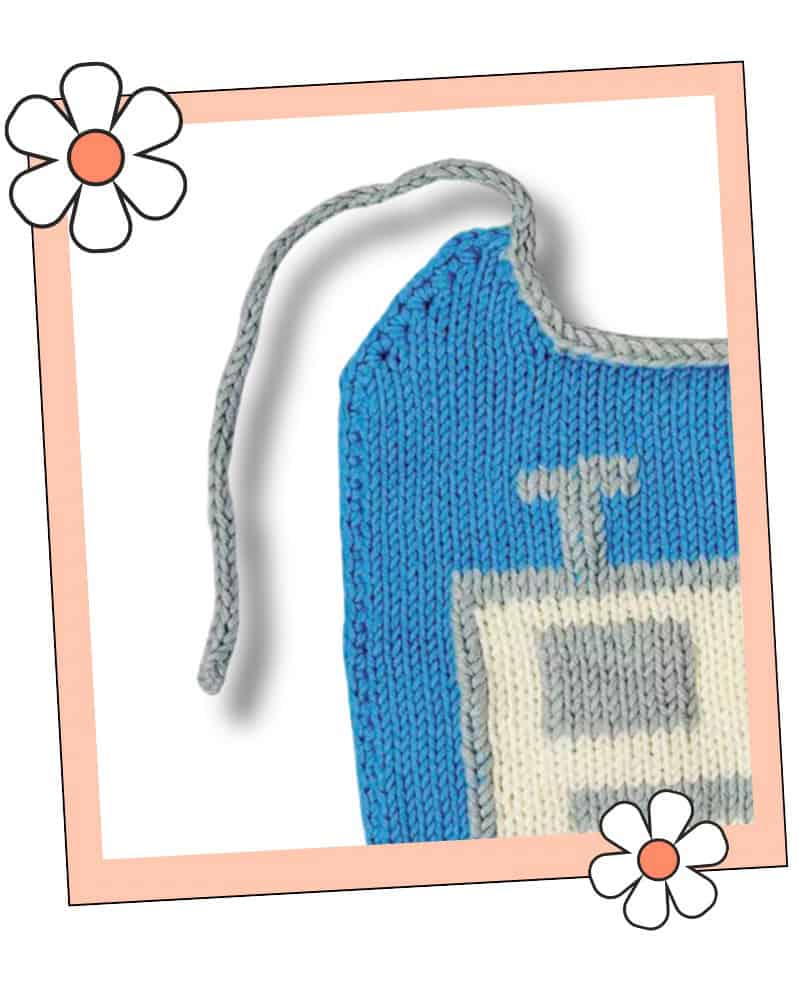
The bib is knitted flat in one piece, from the bottom edge up. You cast on in blue, increase for a few rows to shape the bottom corners, then work the robot from the chart. The neck is shaped at the top, and each side is finished separately.
The robot’s face is a cream rectangle worked in intarsia, with silver eyes, a silver mouth, a silver outline and two antennae. You can knit the silver in as you go, or knit the face first and Swiss darn the silver on afterwards. Both work. Swiss darning is the gentler option if intarsia is new to you, because there are fewer colours on the go at once.
Silver i-cord ties are worked straight round the neck edge, and the outer edge is finished with a blue i-cord or a simple crochet border. If you prefer a hook to a needle, the crochet edge is the quicker of the two.
I have been designing for babies and children for 18 years, and the patterns that get used are the ones that cope with real life. This one is easy to follow, quick to knit up and great for gifts, especially for a baby who is just starting on solids.
Babies were never going to eat tidily. The bib might as well make you laugh.
Before You Start: A Note on Safety
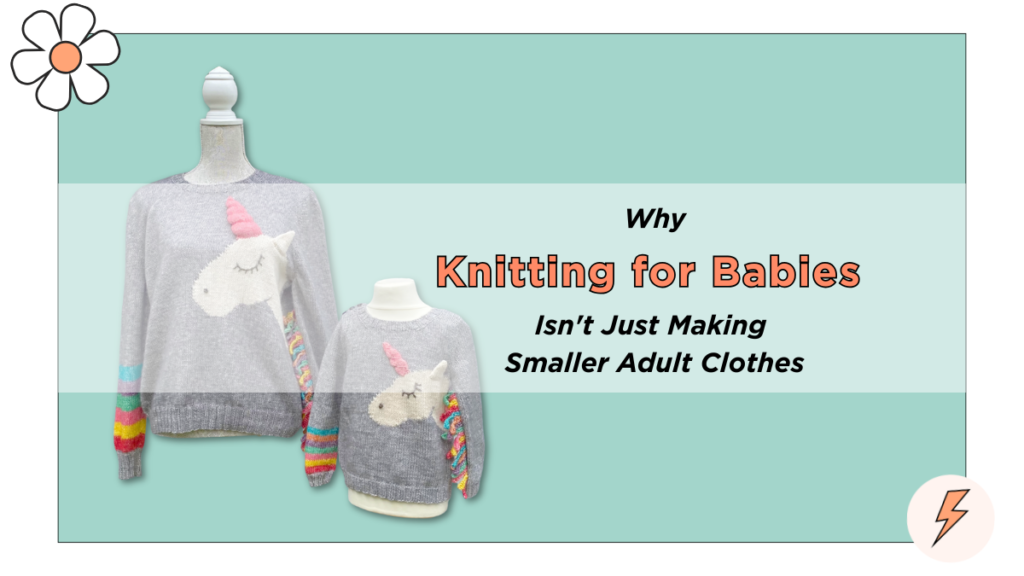
This bib has two ties that go around baby’s neck. Only use it while baby is awake and supervised, take it off before naps and bedtime, and check the ties regularly for wear. For more on choosing safe, baby-friendly yarns and finishes, see my post on knitting for babies and how to get it right.
What You Need
If you can’t get King Cole in the US, Lion Brand Coboo is a good substitute. It’s a DK cotton and bamboo blend with 212m (232yds) per 100g, and it comes in blues, silver and cream. Knit a tension square before you start, as a different yarn can change the size.
| Item | Details |
|---|---|
| Yarn | King Cole Bamboo Cotton DK, 50% bamboo viscose, 50% cotton, 230m (252yds) per 100g ball |
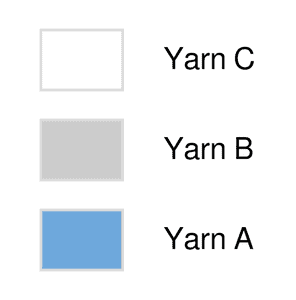
| Yarn A | Blue (531), 1 ball |
| Yarn B | Silver (522), 1 ball |
| Yarn C | Cream (538), 1 ball |
| Needles | A pair of 3.25mm (US 3) needles and a set of 3.25mm (US 3) double-pointed needles |
| Crochet hook | 3.5mm (US E/4), for the crochet edge only |
| Notions | Stitch holder, darning needle |
| Tension | 24 sts x 34 rows = 10cm x 10cm (4in x 4in) in stocking stitch using 3.25mm (US 3) needles |
| Finished size | 18cm (7in) wide x 19cm (7.5in) long, not including the ties. Each tie measures 20cm (7.75in). |
| Skill level | Confident beginner, a great first intarsia project |
Abbreviations
A full abbreviations guide is available as a free download from the Jane Burns shop. Download the free knitting abbreviations guide here.
The abbreviations used in this pattern are:
- k: knit
- p: purl
- M1: make 1 (see Technique Notes)
- k2tog: knit 2 stitches together
- p2tog: purl 2 stitches together
- k2tog tbl: knit 2 stitches together through the back loops
- dc: double crochet (UK term, single crochet in US terms)
- DPNs: double-pointed needles
- RS: right side
- WS: wrong side
- st(s): stitch(es)
- rep: repeat
The Free Robot Baby Bib Knitting Pattern
Bib
Using 3.25mm (US 3) needles and Yarn A, cast on 31 sts.
Row 1 (WS): Purl.
Row 2 (RS): K2, M1, knit to last 2 sts, M1, k2. 33 sts
Row 3: Purl.
Rows 4 to 11: Rep the last 2 rows four more times. 41 sts
Robot Chart
Work rows 1 to 36 from the chart, or from the written instructions below. Read RS (odd) rows from right to left and WS (even) rows from left to right. Each square is one stitch.
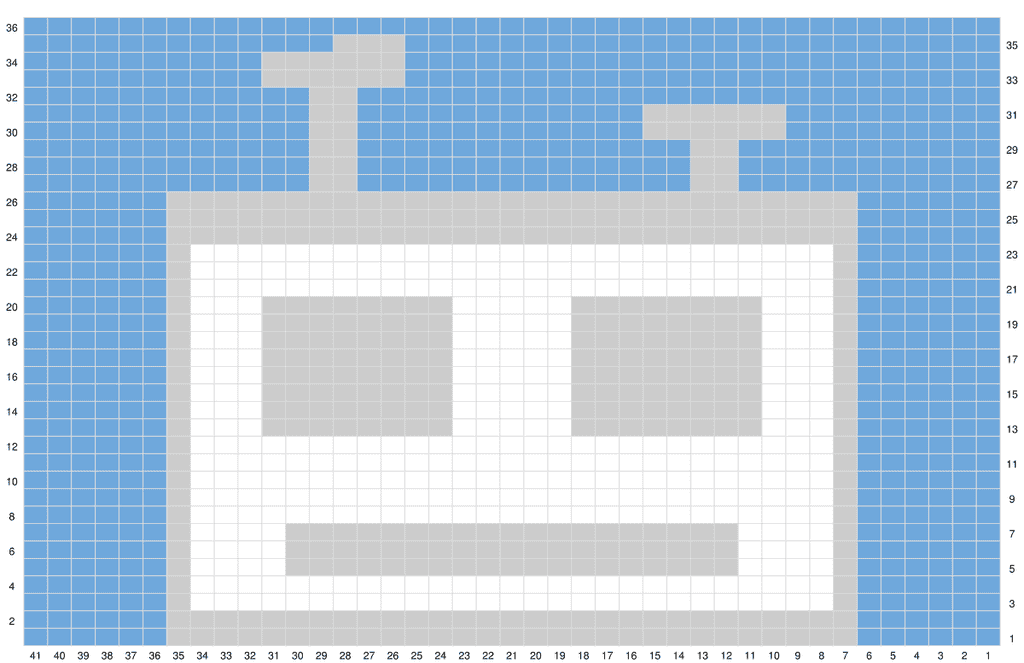
If you plan to Swiss darn the silver, knit the Yarn B stitches in the background colour instead: cream inside the robot’s face, blue outside it. Then darn them in silver at the end.
Written chart instructions
Row 1 (RS): (Yarn A) x 6, (Yarn B) x 29, (Yarn A) x 6
Row 2 (WS): (Yarn A) x 6, (Yarn B) x 29, (Yarn A) x 6
Rows 3 and 4: (Yarn A) x 6, (Yarn B) x 1, (Yarn C) x 27, (Yarn B) x 1, (Yarn A) x 6
Rows 5 to 7: (Yarn A) x 6, (Yarn B) x 1, (Yarn C) x 4, (Yarn B) x 19, (Yarn C) x 4, (Yarn B) x 1, (Yarn A) x 6
Rows 8 to 12: (Yarn A) x 6, (Yarn B) x 1, (Yarn C) x 27, (Yarn B) x 1, (Yarn A) x 6
Rows 13 to 20: (Yarn A) x 6, (Yarn B) x 1, (Yarn C) x 3, (Yarn B) x 8, (Yarn C) x 5, (Yarn B) x 8, (Yarn C) x 3, (Yarn B) x 1, (Yarn A) x 6
Rows 21 to 23: (Yarn A) x 6, (Yarn B) x 1, (Yarn C) x 27, (Yarn B) x 1, (Yarn A) x 6
Rows 24 to 26: (Yarn A) x 6, (Yarn B) x 29, (Yarn A) x 6
Row 27: (Yarn A) x 11, (Yarn B) x 2, (Yarn A) x 14, (Yarn B) x 2, (Yarn A) x 12
Row 28: (Yarn A) x 12, (Yarn B) x 2, (Yarn A) x 14, (Yarn B) x 2, (Yarn A) x 11
Row 29: (Yarn A) x 11, (Yarn B) x 2, (Yarn A) x 14, (Yarn B) x 2, (Yarn A) x 12
Row 30: (Yarn A) x 12, (Yarn B) x 2, (Yarn A) x 12, (Yarn B) x 6, (Yarn A) x 9
Row 31: (Yarn A) x 9, (Yarn B) x 6, (Yarn A) x 12, (Yarn B) x 2, (Yarn A) x 12
Row 32: (Yarn A) x 12, (Yarn B) x 2, (Yarn A) x 27
Row 33: (Yarn A) x 25, (Yarn B) x 6, (Yarn A) x 10
Row 34: (Yarn A) x 10, (Yarn B) x 6, (Yarn A) x 25
Row 35: (Yarn A) x 25, (Yarn B) x 3, (Yarn A) x 13
Row 36: (Yarn A) x 41
Top of Bib
Once the chart is complete, continue in Yarn A only.
Row 1 (RS): Knit.
Row 2: Purl.
Rep these 2 rows twice more.
Row 7: K12, place these 12 sts on a holder, cast off 17 sts, k12. 12 sts
Each side is now completed separately.
First Side
Row 8 (WS): Cast off 2 sts, purl to end. 10 sts
Row 9 and all alternate rows to Row 17: Knit.
Row 10: Cast off 1 st, purl to end. Nine sts
Row 12: Cast off 1 st, purl to last 2 sts, p2tog. Seven sts
Row 14: Cast off 1 st, purl to last 2 sts, p2tog. Five sts
Row 16: Cast off 1 st, purl to last 2 sts, p2tog. Three sts
Row 18: P1, p2tog. Two sts
Row 19: K2tog. One st
Fasten off.
Second Side
Slip the 12 sts from the holder back onto the needle and rejoin Yarn A with RS facing.
Row 1 (RS): Cast off 2 sts, knit to end. 10 sts
Row 2 and all alternate rows to Row 10: Purl.
Row 3: Cast off 1 st, knit to end. Nine sts
Row 5: Cast off 1 st, knit to last 2 sts, k2tog. Seven sts
Row 7: Cast off 1 st, knit to last 2 sts, k2tog. Five sts
Row 9: Cast off 1 st, knit to last 2 sts, k2tog. Three sts
Row 11: Cast off 1 st, knit to end. Two sts
Row 12: P2tog. One st
Fasten off.
I-Cord Ties
Using 3.25mm (US 3) DPNs and Yarn B, cast on 3 sts.
*K3, slide the sts to the other end of the needle without turning the work; rep from * until the i-cord measures 20cm (7.75in).
Next row: K3 i-cord sts, *pick up 1 edge st from the bib (starting at the top left inner edge), slide these 4 sts to the other end of the needle, do not turn work, k2, k2tog tbl; rep from * picking up sts evenly around the neck edge and finishing at the top right inner edge.
Do not break yarn.
Continue to work the 3 st i-cord tie to match the other side until it measures 20cm (7.75in).
Cast off.
Outer Edge
Choose the knitted i-cord or the crochet border.
I-cord method: Using 3.25mm (US 3) DPNs and Yarn A, cast on 3 sts. K3, *pick up 1 edge st from the bib (starting just to the left of the neck edge, with RS facing), slide these 4 sts to the other end of the needle, do not turn work, k2, k2tog tbl; rep from * picking up sts evenly around the edge of the bib and finishing just to the right of the neck edge. Fasten off.
Crochet method: Using Yarn A and a 3.5mm (US E/4) crochet hook, work 1 dc into each st around the outer edge, placing extra sts around the corners to stop curling.
To Make Up
Darn in all ends.
If you knitted the silver in the background colour, use the chart to Swiss darn the silver sections now.
Gently block.
How to Swiss Darn the Robot, Step by Step
Swiss darning (duplicate stitch) covers each knitted stitch with a stitch of embroidery the same shape. It’s a tidy way to add small details, and it’s very forgiving if you need to take one out.
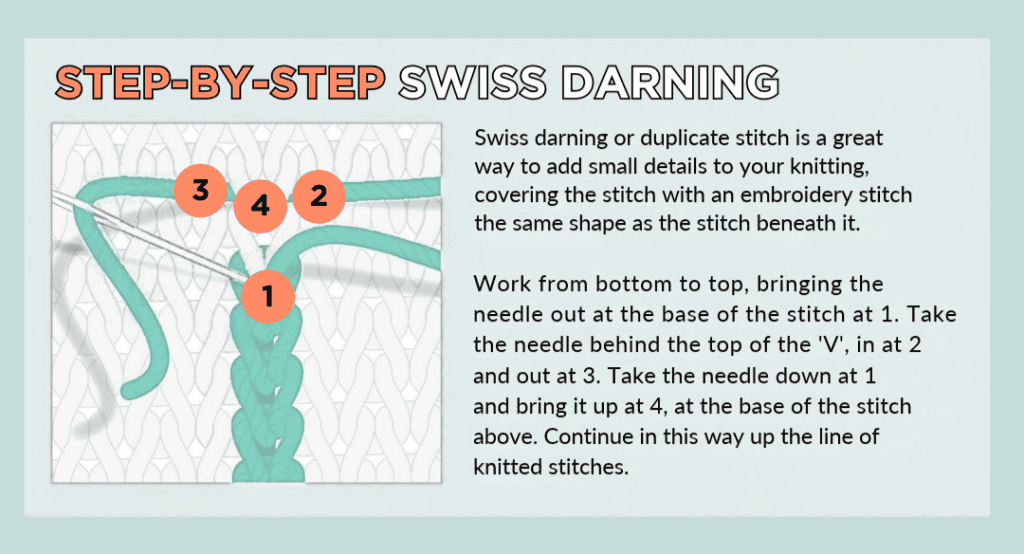
Work from the bottom of each silver section upwards, and keep the yarn relaxed so the stitches underneath are covered but not pulled in. If you would like to see it done slowly, Very Pink Knits has a clear slow motion duplicate stitch video.
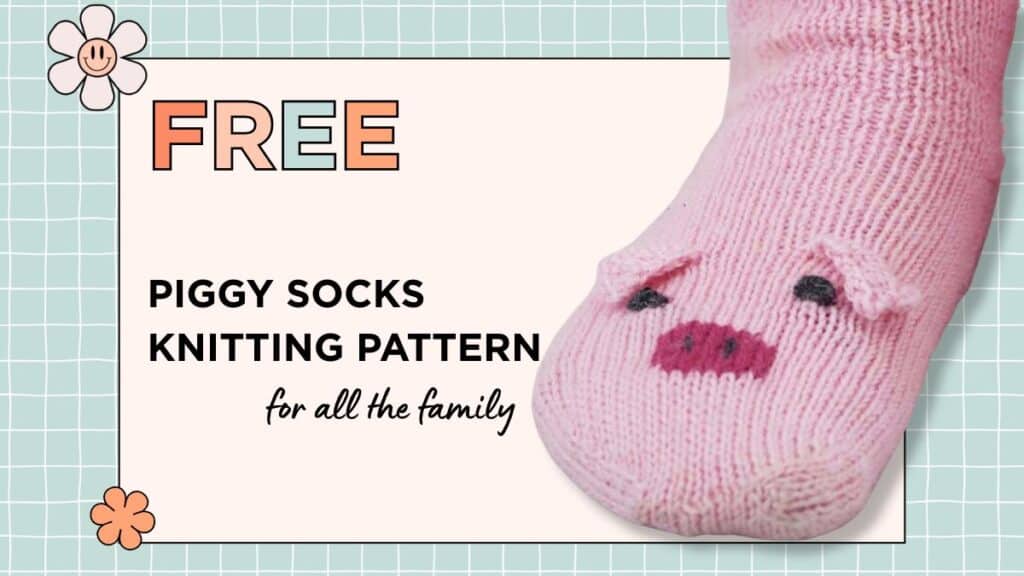
My free pig socks knitting pattern uses the same technique for its snout, if you’d like another excuse to practise.
Technique Notes
M1 (make 1): Pick up the horizontal bar between the stitch you have just worked and the next one, from front to back, with the left needle. Knit into the back of it. This adds a stitch without leaving a hole.
Intarsia: Each block of colour has its own length of yarn. When you change colour, drop the old yarn and bring the new yarn up from underneath it, so the two strands twist together. That twist is what stops a hole appearing between the colours. Small bobbins or lengths of yarn are easier to manage than whole balls.
Reading the chart: Start at the bottom right-hand corner. Read RS rows from right to left and WS rows from left to right.
I-cord: Knit the stitches, slide them back to the other end of the double-pointed needle without turning, and knit them again, pulling the yarn firmly across the back. The fabric closes into a neat round cord.
Attached i-cord: Each time you pick up a stitch from the bib edge, you knit it together with the last i-cord stitch (k2tog tbl). This joins the cord to the bib as you go, so there is nothing to sew on later.
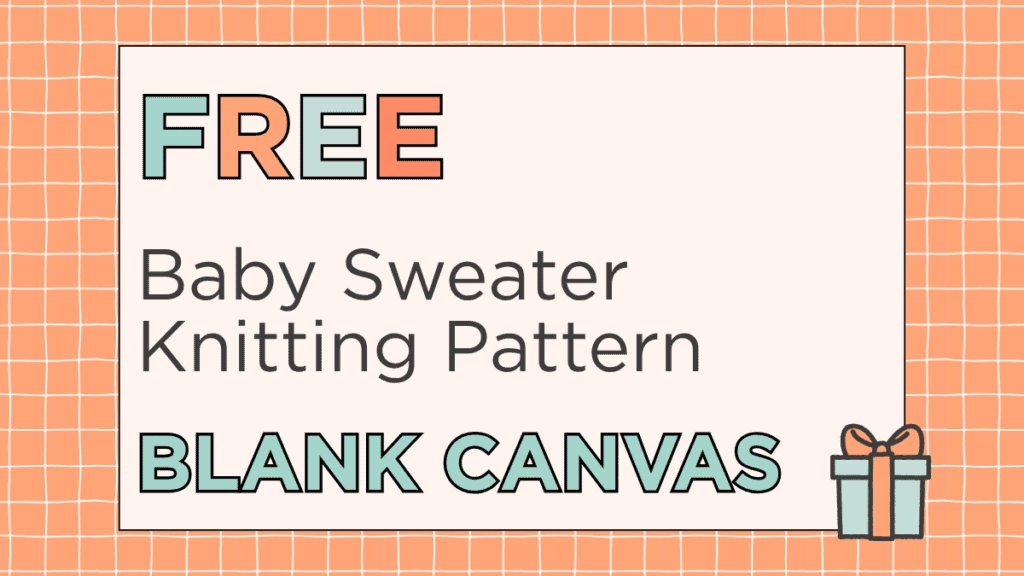
If you enjoyed the robot, the Blank Canvas free baby jumper knitting pattern is another free intarsia knit, with a whole library of motifs to choose from.
Would You Like the PDF?
The full pattern is free right here on the blog and always will be. If you would prefer a neatly laid-out, printable version, the PDF is available from the Jane Burns shop.
It has the colour chart, the written chart instructions and the Swiss darning guide all in one place, with clear instructions and no adverts between the rows. A printed pattern is also much easier to follow with a baby on your knee, which is usually when knitting happens.
Free Robot Baby Bib Knitting Pattern FAQs
What age do babies start using bibs?
Many babies start wearing bibs early on for dribbling, and most families use them every day once weaning begins, usually around six months. This bib is a comfortable size from the start of weaning into toddlerhood.
How long do babies need bibs for?
Most toddlers wear bibs at mealtimes until they’re two or three, and some for longer. Spaghetti does not care how old you are.
Can I knit a baby bib with two needles?
Yes. The bib itself is knitted flat on a pair of straight needles. You only need double-pointed needles for the i-cord ties and the i-cord edge, and if you choose the crochet border, the outer edge uses a hook instead.
Is intarsia easy for beginners?
Intarsia sounds harder than it is. This robot is a good place to start, because the shapes are blocks and straight lines, and the pattern is only 41 stitches wide. If you’d rather keep it simpler still, knit the cream face in intarsia and Swiss darn all the silver afterwards.
Can I knit the silver instead of Swiss darning it?
Yes. The chart and written instructions show every silver stitch, so you can knit them in as you go. If you’d prefer to Swiss darn them, knit those stitches in the background colour instead, then darn over them in silver at the end. Both give the same robot.
What yarn is best for a knitted baby bib?
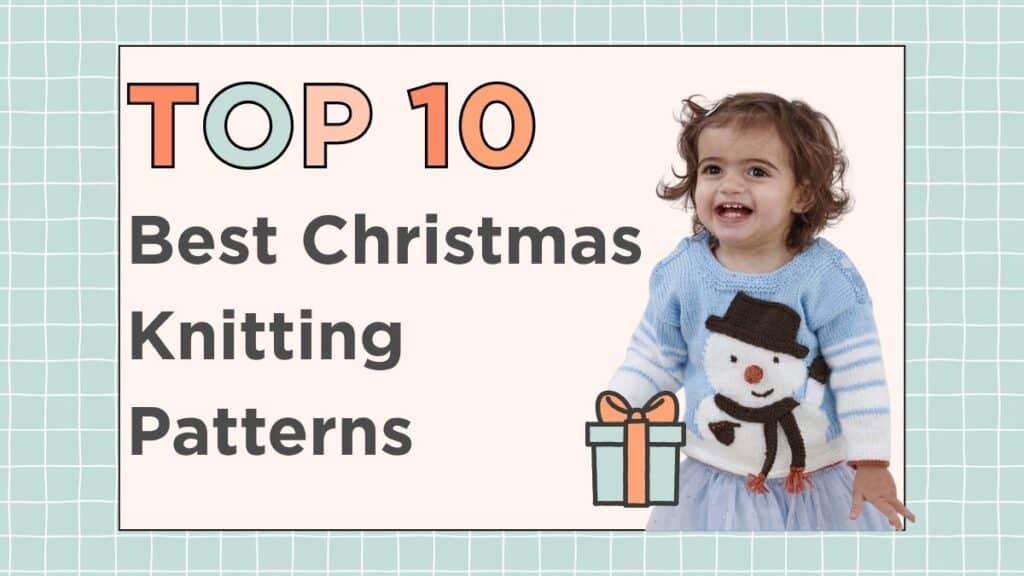
Choose something soft and machine washable, ideally with cotton in it. Cotton soaks up spills and washes well, which matters for something that gets used at every meal. I’ve written more about choosing baby-friendly yarns in knitting for babies and how to get it right.
Stay in Touch
If you would like new patterns, free resources, and the occasional dry observation about knitting for children delivered straight to your inbox, you can join the list here: